Spacer Mats
Objects such as seashells, arrowheads, thimbles, military medals, and other small items can be framed using a window mat. To achieve this, the items are arranged in a specific way and then measured. The mat is then designed in a usual manner to fit the grouping.
After the mat is cut and the objects are attached to the backing board, space must be created between the mat and the backing board, lifting the mat away from the objects. This can be done with strips of foam center board cut about ½” (1.3 cm) narrower than the mat borders and attached to the backing board with double-sided tape. Stack more layers if necessary until they are taller than the deepest object; then attach the mat to the top layer of foam center board with double-sided tape. Place the frame face down, insert the glazing, insert the mat/spacer/backing board unit, and complete the fitting as usual.
Note: If the artwork requires three or four layers of board, the edges of the board may be visible beneath the mat when the frame is viewed from an angle. In order to prevent this, attach a strip of matboard to the edges of the board using double-sided tape. Make sure that the color of the matboard matches the mat color for a cohesive look.

Frame-Space
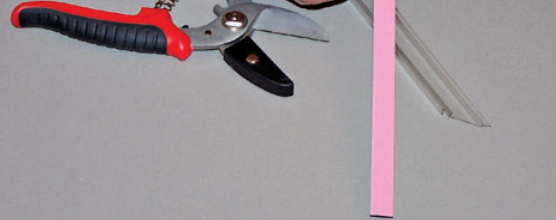
Another option for lining the sides of a shadow box is Frame-Space, plastic strips that can be attached to the rabbet of the frame. There are several sizes providing between 1/8″ (3 mm) and ¾” (1.9 cm) of airspace, available in black, white, or clear. Each size has a slot for the glazing, the spacer portion, and a ledge to hold the backing board.
Linen-Covered Liner
Wooden liner frames can be used to create some depth in a shadow box frame, and they take the place of finishing the sides of the frame. The glazing goes in the frame first, then the liner (which has a rabbet), then the backing board with the materials attached, then a backing board.

Stapling to the Back of the Frame
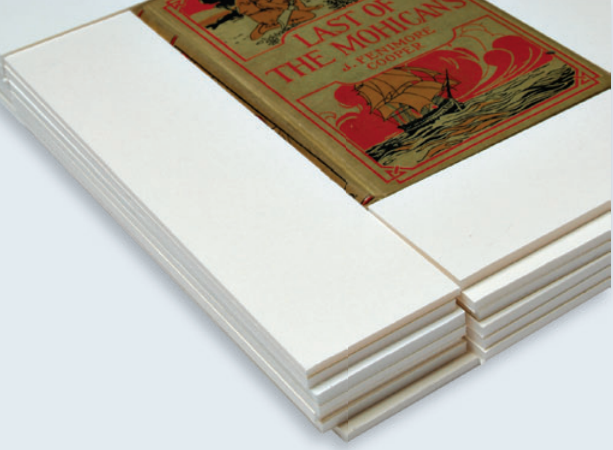
This is not a professional technique, but a practical method for the DIY framer. It lets the framer use the full depth of the frame. This is a good, simple option for framing a scrapbook page. It is not appropriate for heavy objects, because the backing is no more than one or two layers of matboard.
1. Lay the frame face down. Measure the full outside size of the frame. Cut the backing board about ¼” (6 mm) short of this size.
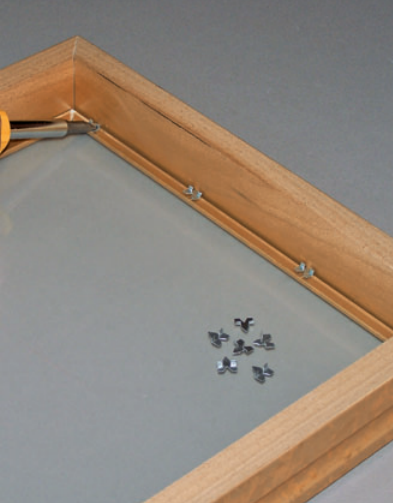
2. Clean the interior of the glass and install the glass in the face of the frame using glazier’s push points (available at hardware stores and home improvement stores) or other short hardware.
3. Line the sides of the frame with a single layer of matboard that extends all the way to the back of the frame. Attach the matboard to the frame with double-sided tape and a little white glue.
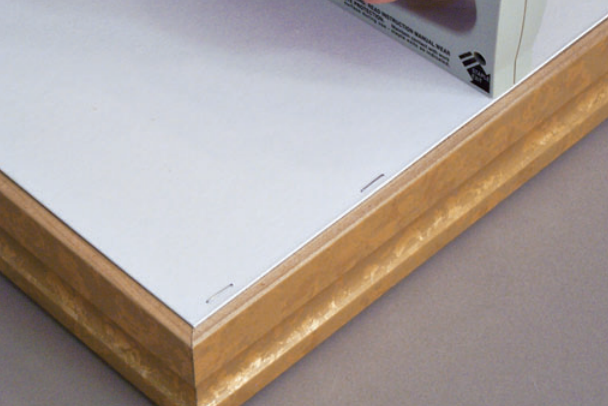
4. Attach the objects to the backing board. Center the backing board face down on the back of the frame. If necessary, add a second layer of matboard for extra strength. The edges of the backing boards will be exposed—they can be colored with a felt-tip marker or colored pencil if desired. Use a staple gun to attach the backing to the frame.
5. Install hanging hardware.
Upright Fitting
In most cases, the standard procedure for fitting wood or metal frames can be followed once the lining is in place. Occasionally, it is not practical to place the backing board with the objects face down in the frame, perhaps because the hair of a doll or the tassel on a hat may become disheveled in the process. In these rare situations, the fitting can be done with the shadow box standing upright on the worktable—but use a helper to steady the box while you insert the fitting points. You can contact Custom Framing Wholesale for professional help.
Sink Mat
The sink mat is similar to a spacer mat, except the sink mat closely surrounds and supports a single object. It is a great way to feature an individual item that only needs to be seen from the front, such as a book, magazine, or ceramic tile.
1. Design the framing. Cut a backing board to the outside size of the mat (this board will not be seen in the framing.) Center the object on the backing board.
2. Measure the space (on all four sides) from the edge of the object to the edge of the backing board. Cut strips of foam center board, about ⅛” (3 mm) narrower than the measured space, to surround the object. Attach these strips to the backing board with glue or double-sided tape aligned with the outer edges of the backing board.
3. Cut more strips and add a second layer to the backing board. Continue layering until the strips reach the height of the object. If the foam board reaches too high, use matboard strips instead to match the exact height of the object.
4. Cut a window mat that covers the object at least ⅛” (3 mm) on each side. Attach the window mat to the top of the stack of strips with glue or double-sided tape. Place the frame face down on the work table. Place the glazing in the frame. Insert the sink mat in the frame. Finish the fitting as usual.