Introduction
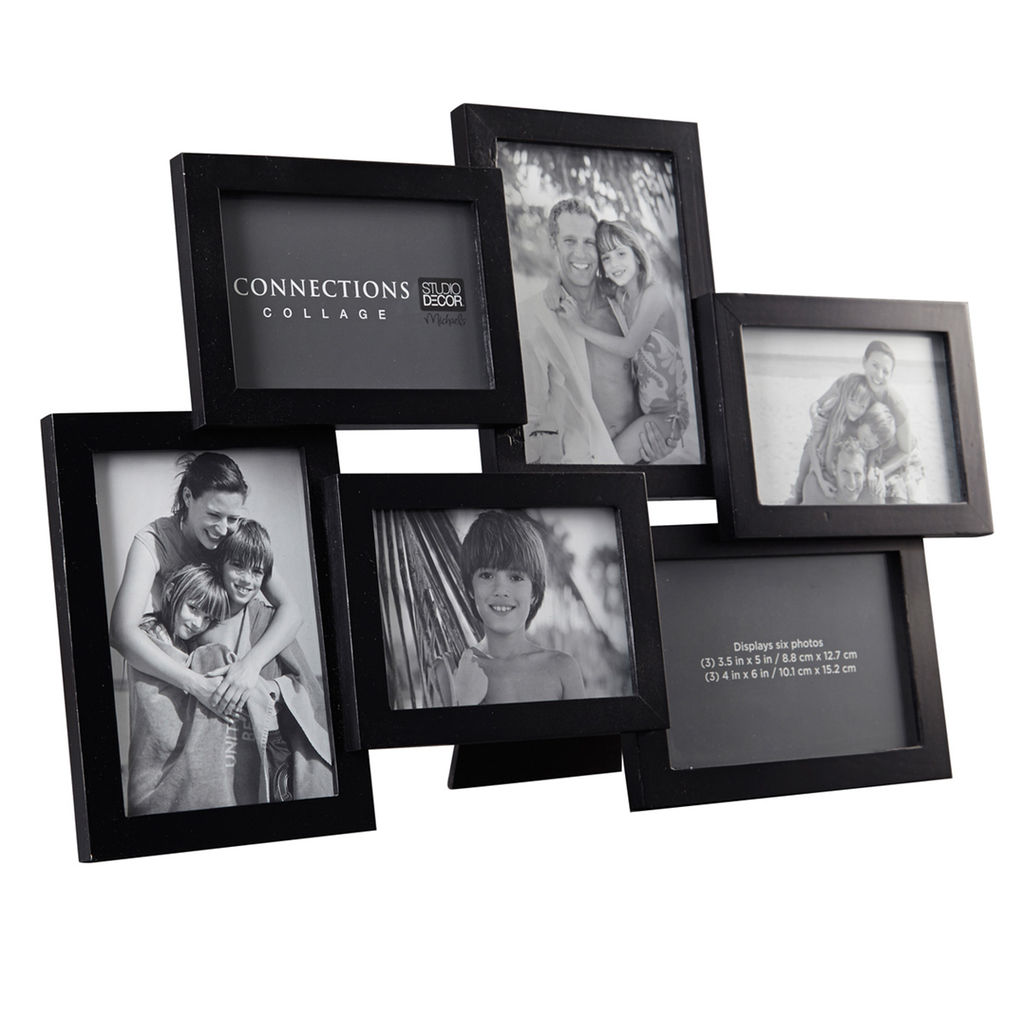
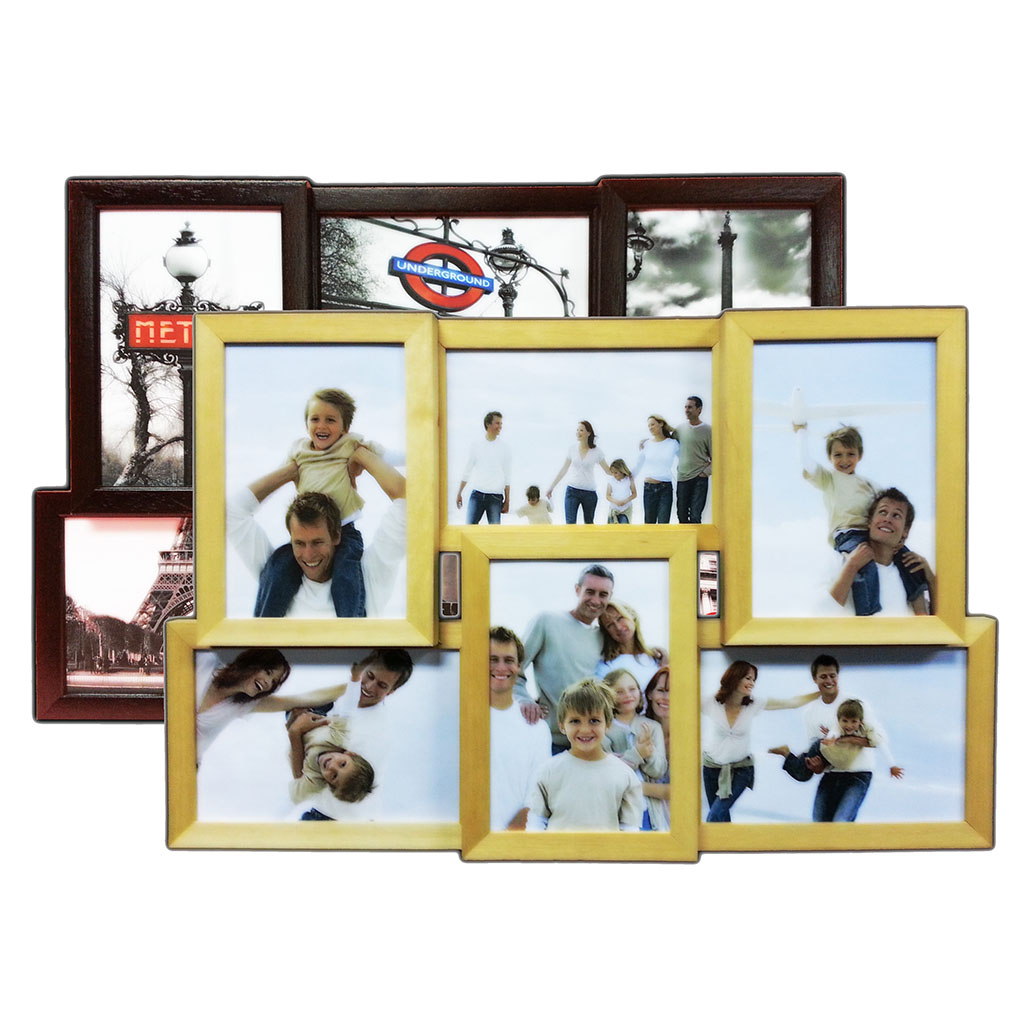
A collage picture frame is a unique and creative way to display your favorite photos. It is a great way to show off your personality and style, and it can be a conversation starter for guests.
In this blog post, we will show you how to create your own collage picture frame with the latest trends. We will provide step-by-step instructions, and we will also share some tips and tricks to help you create a beautiful and unique frame.
Latest trends in collage picture frame
– Mixed media collages: These collages feature a variety of materials, such as photos, paper, fabric, and even found objects. They can be a great way to add a personal touch to your frame.
– Geometric collages: These collages feature geometric shapes, such as squares, triangles, and circles. They can be a great way to create a modern and stylish look.
– Colorful collages: These collages feature a variety of colors, often in bright and bold shades. They can be a great way to add a pop of color to your home decor.
– Minimalist collages: These collages feature a few simple elements, such as a few photos and a simple frame. They can be a great way to create a clean and elegant look.
Step 1: Choose your photos.
The first step is to choose the photos that you want to include in your collage. You can use any photos that you like, but we recommend choosing photos that have a similar color scheme or theme. This will help to create a cohesive look for your frame.
Step 2: Gather your materials.
In addition to your photos, you will need a few other materials to create your collage frame. These include:
– A piece of cardboard or foam board
– A frame
– Scissors or a craft knife
– Glue or double-sided tape
– Decorative elements, such as stickers, stamps, or paint
Step 3: Cut out your photos.
Once you have chosen your photos, you need to cut them out. You can use scissors or a craft knife to do this. We recommend cutting the photos to the same size, but you can also cut them to different sizes if you want to create a more asymmetrical look.
Step 4: Arrange your photos.
Once your photos are cut out, you need to arrange them on the cardboard or foam board. We recommend arranging the photos in a grid pattern, but you can also arrange them in any way that you like.
Step 5: Glue or tape your photos in place.
Once you are happy with the arrangement of your photos, you need to glue or tape them in place. We recommend using a strong glue or double-sided tape to ensure that your photos stay in place.
Step 6: Add decorative elements.
Once your photos are in place, you can add decorative elements to your frame. This is a great way to add your own personal touch to the frame. You can use stickers, stamps, paint, or any other decorative elements that you like.
Step 7: Attach the frame to the back of the collage.
Once you are happy with the look of your collage, you need to attach the frame to the back of the collage. You can use glue or double-sided tape to do this.
Step 8: Enjoy your new collage picture frame!
Once the frame is attached, your collage picture frame is complete! You can hang it on the wall or display it on a shelf.
Conclusion
Creating a collage picture frame is a fun and easy way to add some personality to your home decor. We hope that this blog post has inspired you to create your own collage picture frame with the latest trends!
Additional tips:
– If you are using photos of different sizes, you can use a photo editing software to resize them before you cut them out.
– If you want to create a more dimensional look, you can use foam board instead of cardboard.
– You can use any type of frame that you like, but we recommend using a frame that is the same size as your collage.
– Don’t be afraid to experiment with different decorative elements. The possibilities are endless!
We hope you enjoy creating your own collage picture frame with the latest trends!